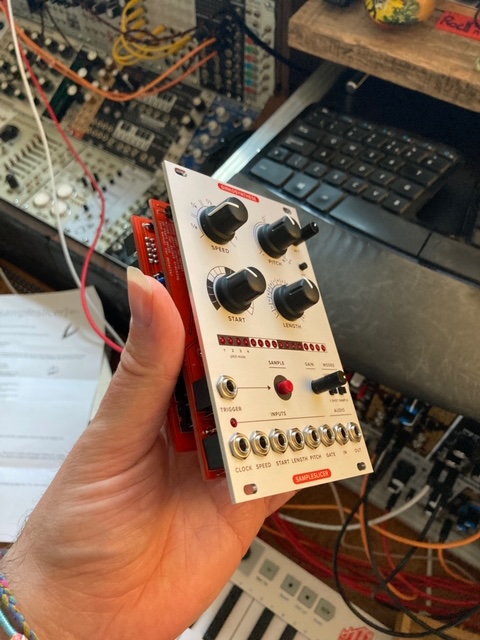
Commissioned build: a Sampleslicer for Ian
- tagged
- synths
- diy
- sdiy
- electronics
- commissions
- sdiy
- 08 jul 2020
Ian asked me to build him a Sampleslicer. They’re great modules (I have one already) and let you do some really nice things like recording loops back on themselves and slide/slice through whats been recored. They also have a really nice, open UI which I like and I think makes them good for performance.
Lets begin
Boards!
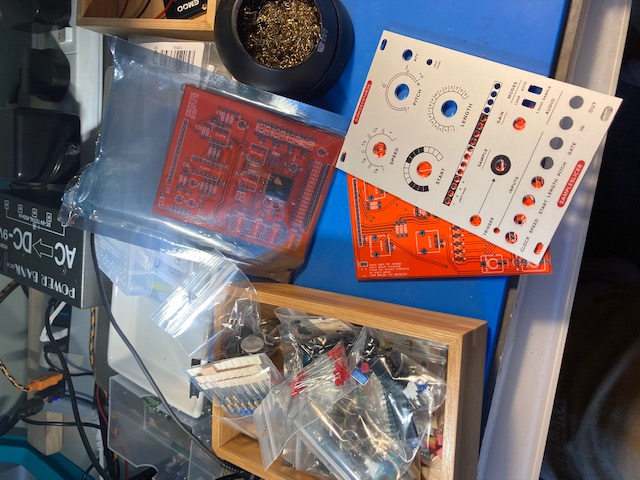
Resistors!
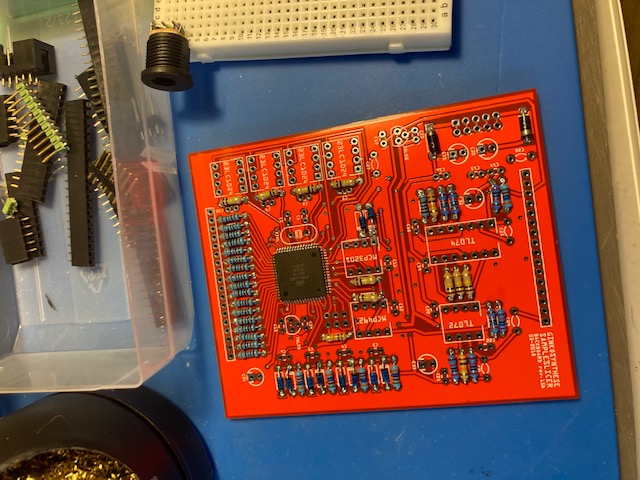
Mild screw up! I misread the PCB - C26 looked a lot like C24 (maybe I should get that eye test…). Fortunately was able to remove the component, but it did look like the pad came with it. Tested for continuity with the right capacitor in and looked to be fine, so onwards!
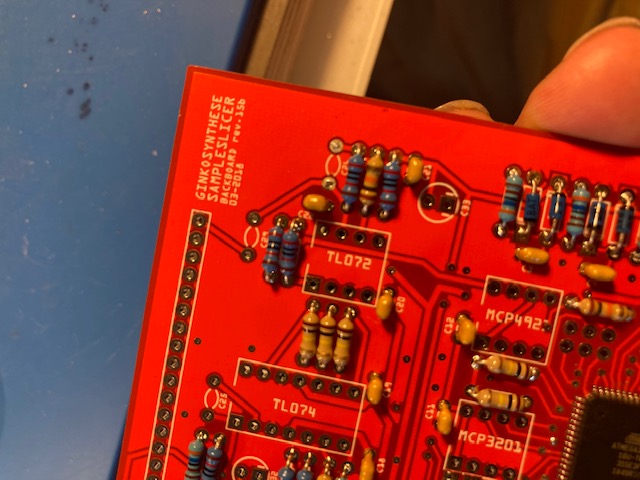
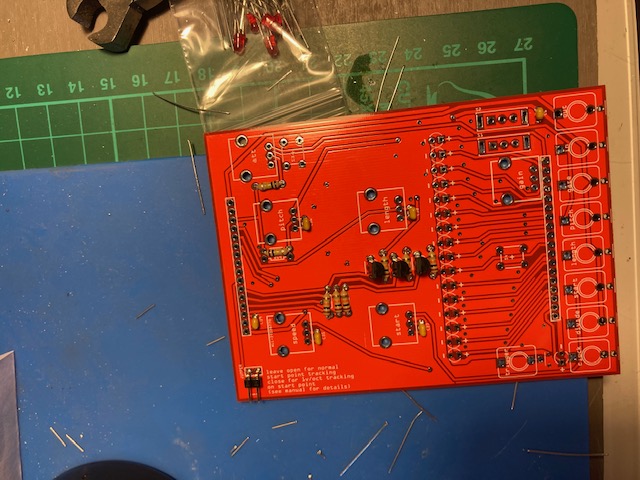
Back board complete!
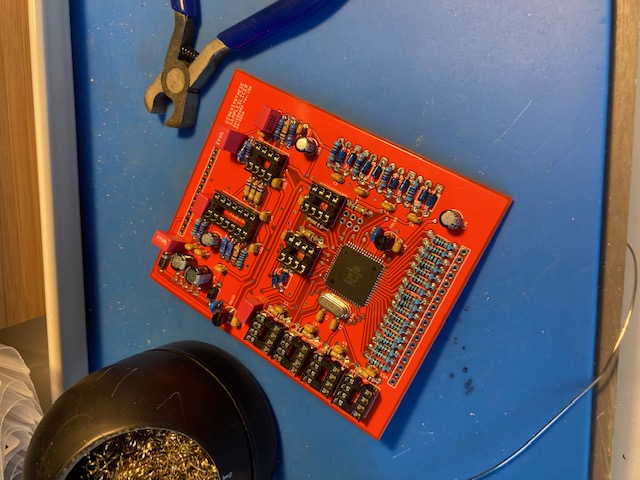
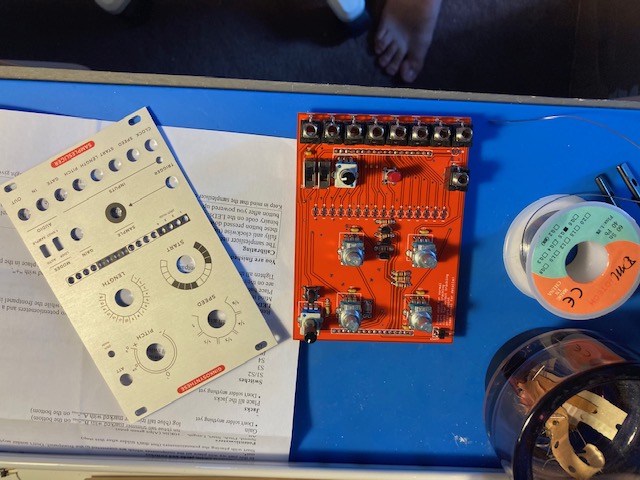
Amusingly I missed the following comment in the build guide: “The name of the IC is written on the PCB but is less easy to read when the socket is in place so remember where the IC’s shouldbe placed.” and put the sockets in without looking at what went where. Ce la vie, and with my trusty iPhone torch it wasn’t too bad to see which went where.
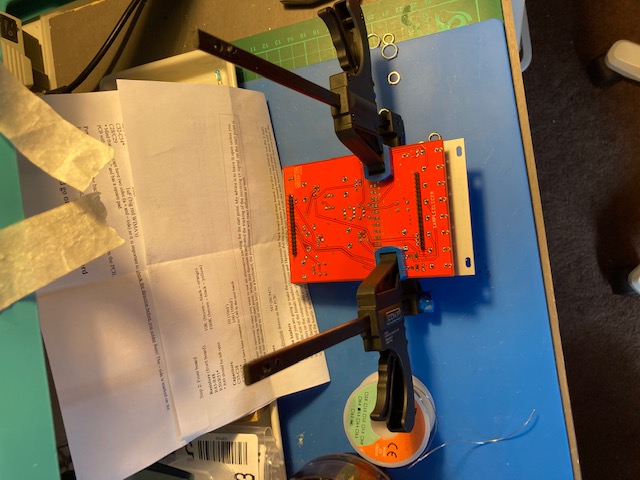
On to the front board
I use these little clamps to hold panels in place while soldering pots, buttons & jacks.
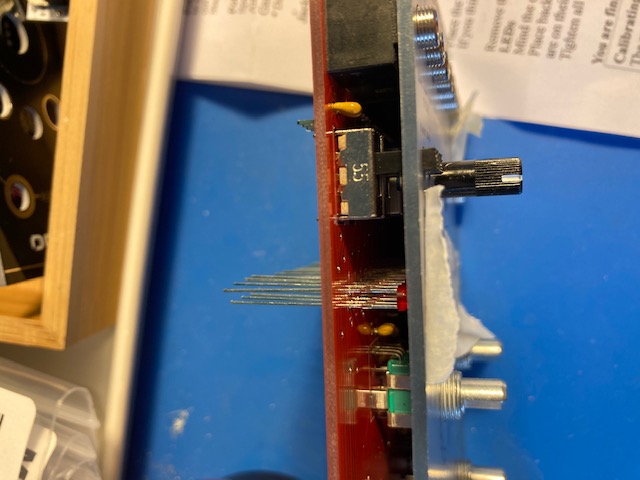
All the LEDs
Top tip time! Use masking tape to keep LEDs in place & level with the panel. Especially when there are 16 to do in a line.
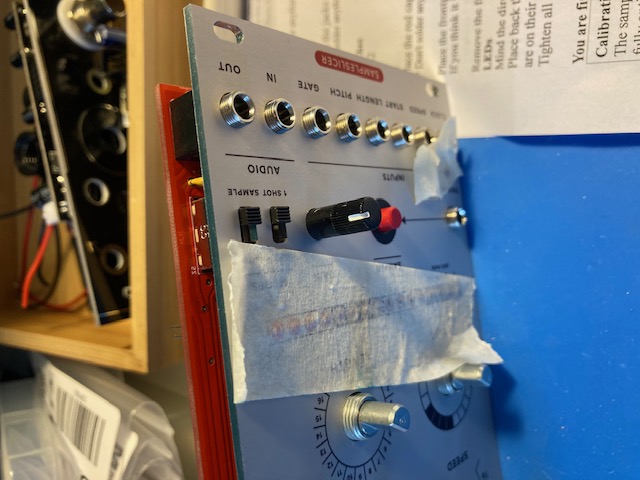
Fin
- posts of a similar ilk
- panel template helper
- triadadad
- mini gig rig